First-time visitors to Disneyworld often naively think they’re going to “do” the park in three days: one day for the Magic Kingdom, one day for Epcot, and one day for everything else. It’s easy to spot such people, collapsed on a bench or dragging exhausted kids around while trying to make their way to the next must-see attraction. Supercon is something like that — a Disney-esque theme park for hackers that will exhaust you if you don’t have a plan, and if you don’t set reasonable expectations. Which is why I was glad that I set only one real goal for my first Supercon: take the SMD Soldering Challenge.
Now, while I’m pretty handy with a soldering iron, I was under no illusion that I would be at all competitive. All my soldering experience has been with through-hole components, and while I also used to doing some production soldering on fine-pitch connectors, the whole surface-mount thing is new to me. I entered mainly because I wanted to see what was possible coming in raw. At best I’d learn what my limits are, and at worst I’d fail spectacularly and provide grist for a “Fail of the Supercon” post. It’s a win either way.
Scoping It Out
I decided to get the challenge out of the way as quickly as possible, so I started sharking around the table early in the afternoon on Friday. As he did last year, Al Williams was running the station. I signed up for the 4:30 heat and hung around a bit to get enough of an idea of what to do to not embarrass myself. It looked like everything was laid out really well. Each station had a good quality soldering station, a lighted magnifier, a few hand tools like flush cutters, pliers, and the all-important tweezers, and a roll of fine solder. There were a bunch of shared tools and supplies too, like desoldering braid, solder suckers, flux pens, and an LED tester. I watched enough of the action to get an idea of the workflow.

When it came time for my heat, I settled into my station and got things squared away. They thoughtfully provided magnifier hoods so that those of us with older eye could partake, and I got mine set up just the way I like it. The rules are simple: you get five minutes to open your kit and scan for missing parts, and to ask any questions you might have. After that, it’s 35 minutes to solder up everything, and each board is graded on function, neatness, and time.
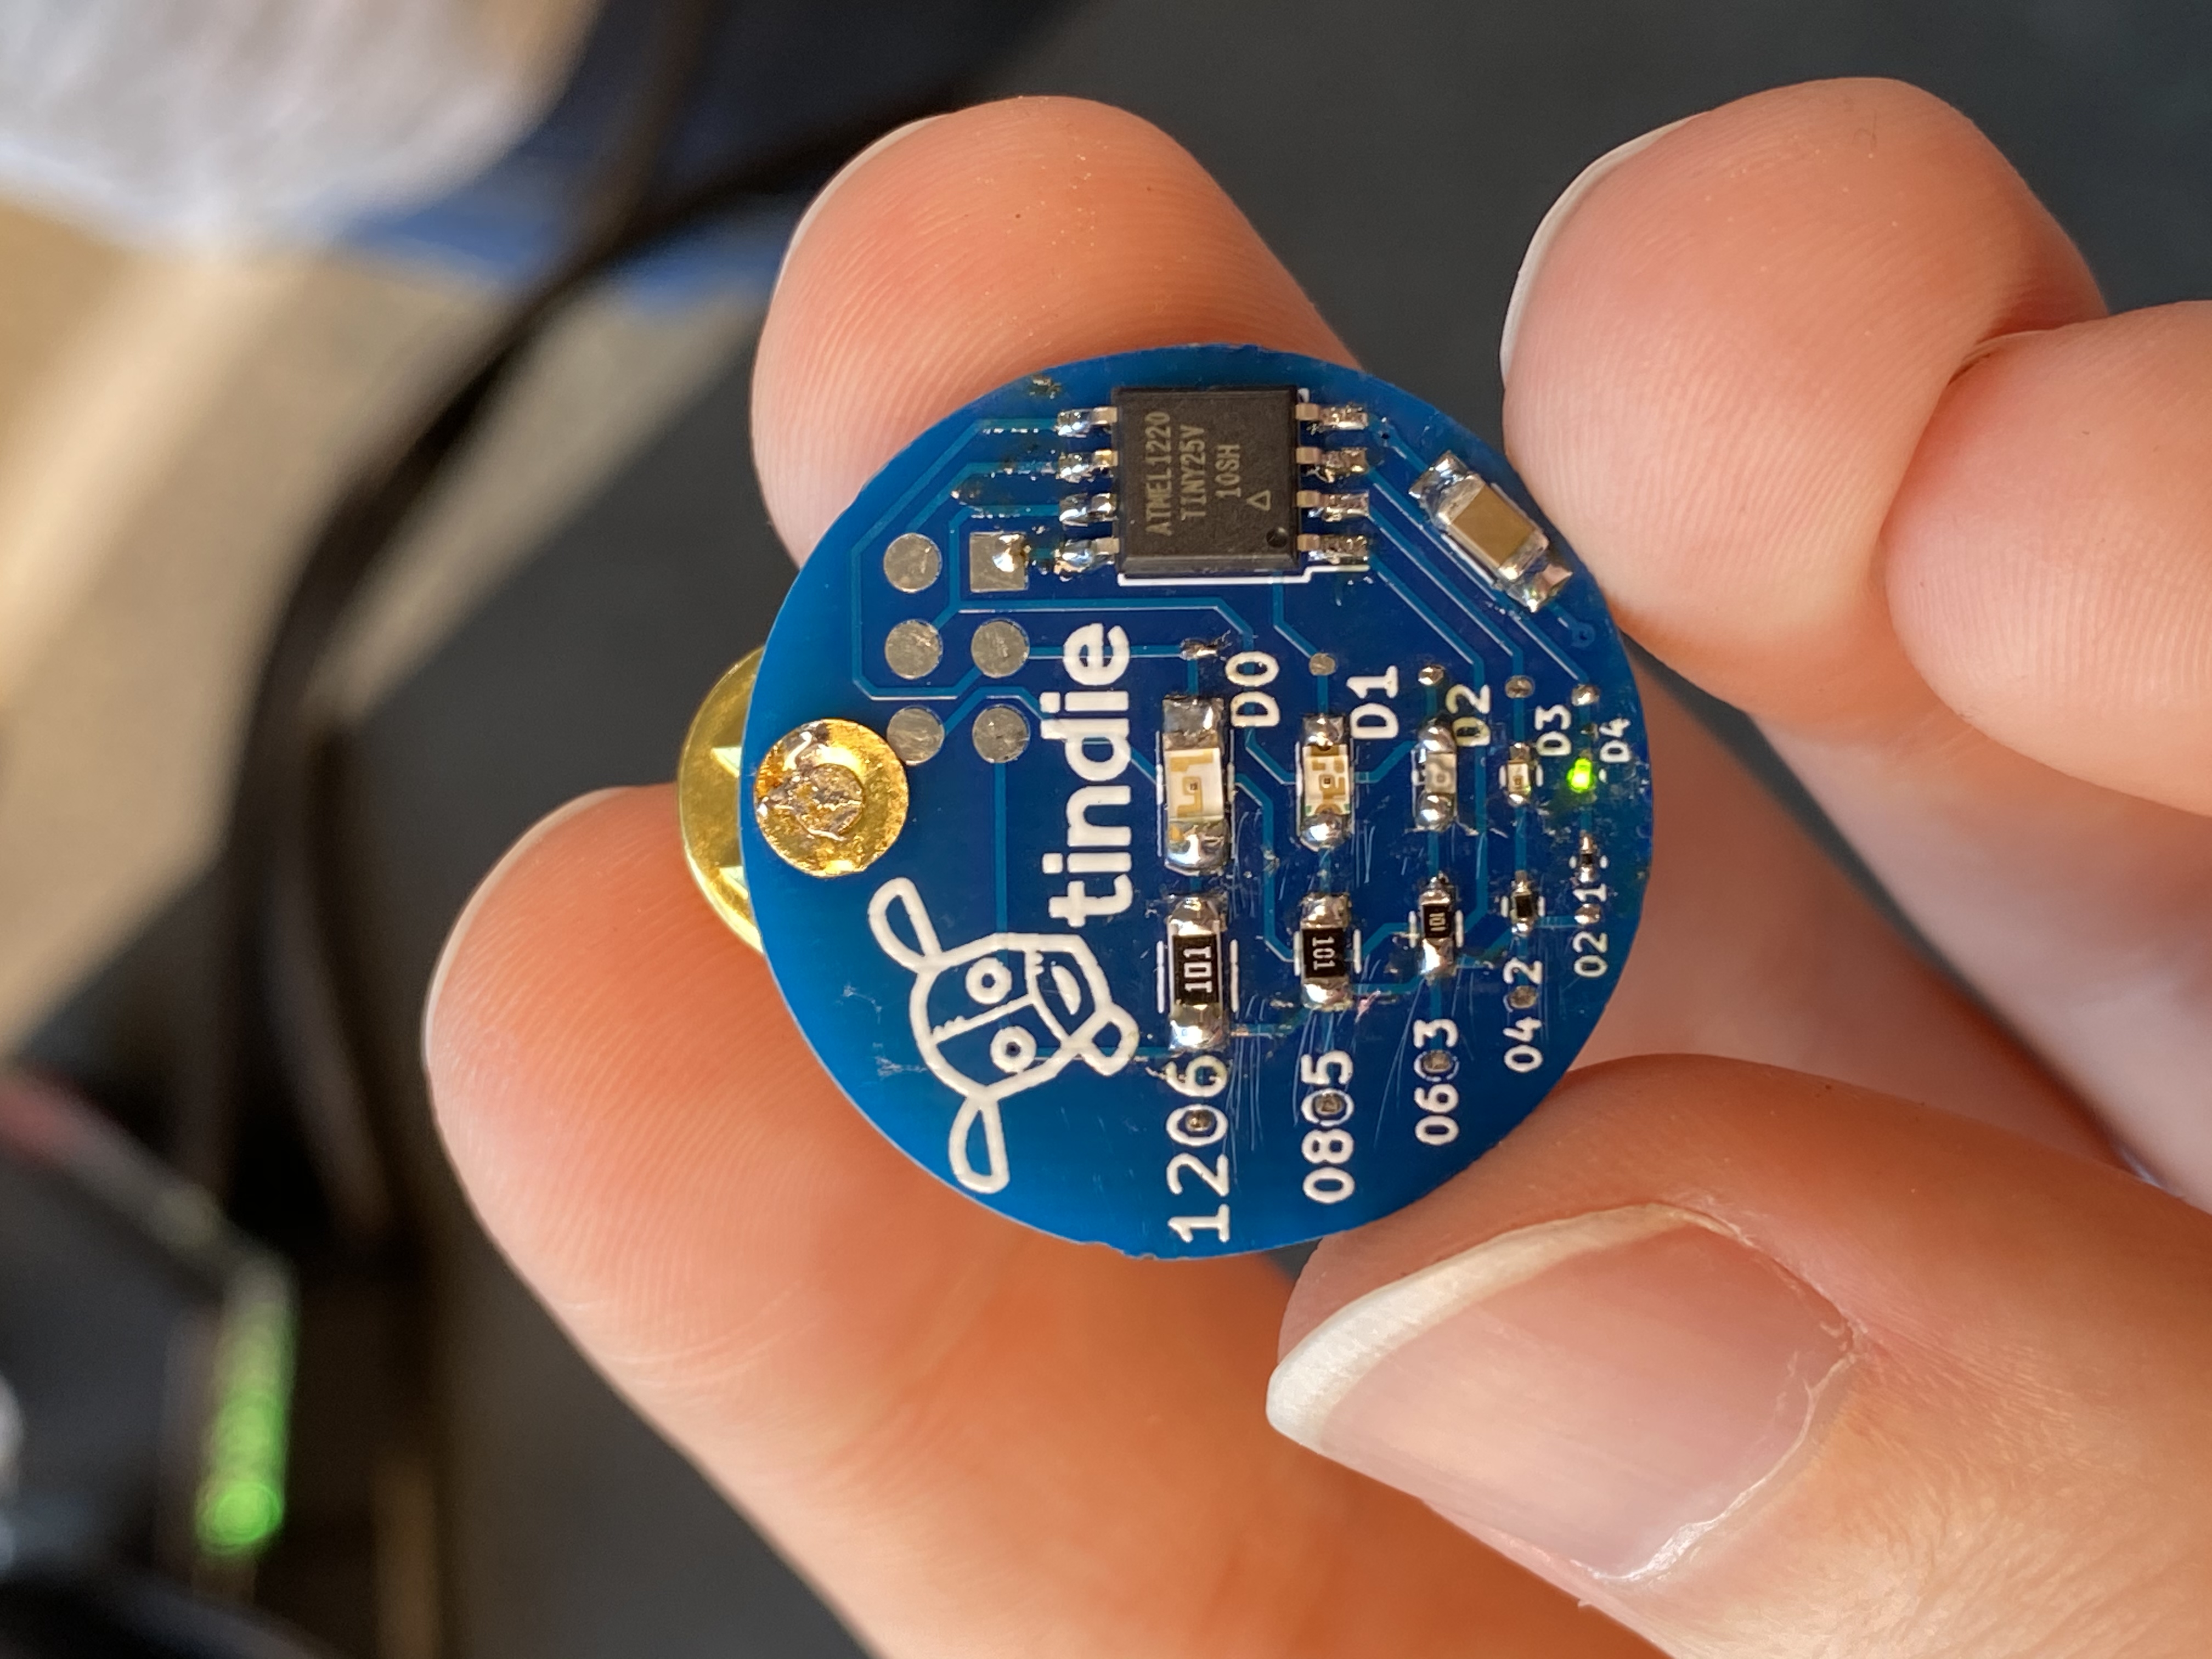
The kit is a simple blinky, powered by a coin cell with an ATtiny85 driving five LEDs. The current limiting resistors and LED footprints start at 1206 and go down to a ridiculous 0201. When I opened mine, I knew the toughest part wouldn’t be the soldering itself, it would be getting the components free from their carriers. The components were helpfully segregated by size but taped down to a piece of paper. Adhesive tape and I are old enemies, so I knew there’d be trouble.
A Man With a Plan
I worked out a quick strategy: tape the PCB down and start with the largest components. I’ve watched enough soldering videos on YouTube to know that flux is your friend, so I got busy with the flux pen. I added a dab of solder to one of the ATtiny85 pads and tacked that in place. It’s about this time that I noticed the soldering iron tip was not exactly ideal — a chisel point — which looked massive even next to the fine pins on the SOIC package. I was surprised by how easily the chip soldered down, likely more a testimony to the ample use of flux and the good quality solder masking on the PCB.
I decided to get the cap and the first resistor and LED soldered down to make sure I had the polarity right. I assumed that the blinky would blink even if only partially assembled, an assumption borne out once I soldered down the coin cell holder (upside down, d’oh!) and slipped the battery in. My earlier fear that getting access to the components would be the bottleneck were well-founded; just getting the cover tapes peeled off the carriers was a tedious, time-consuming job. But I kept going with the next size down, the 0805s, without much trouble.
Just about then, someone called time, only about 8 minutes in. Oh perfect, I thought – I’m not even a third of the way done. But as I said, I wasn’t trying to be competitive, so I shrugged it off and kept going. The 0603s were a little tougher, but I still managed to get them soldered down. I found the LEDs to be the most challenging; figuring out the polarity was tough with the smaller sizes. The wheels finally fell off for me with the 0402s. I managed to get the resistor on, and the LED, but I must have reversed the polarity because the LED wouldn’t light. I tried unsoldering it and reversing it, but all I managed to do was turn it into a molten blob. I called it at 33 minutes, and Al generous scored me a 3.25 out of a possible 5.
How fast?
Records for the SMD Challenge have been falling all weekend. The winner last year put in an amazing 16 minute time. This year, Fred T. set the record with a mind-boggling time of 6:45! Contributing Editor Tom Nardi was watching that heat, and said, “The guy looked like he was just vibrating!” And the quality was top notch — it certainly looks hand-soldered rather than reflowed, but amazing nonetheless.
All in all, I really enjoyed taking the SMD Challenge. I learned a ton, and I feel like I added another skill to my repertoire. I’ve got several designs in the works that I was planning on making through-hole simply because I hadn’t taken the leap into SMD yet. Now that I have, I’ll have to rework the design and join the cool kids on the surface-mount side of the street.